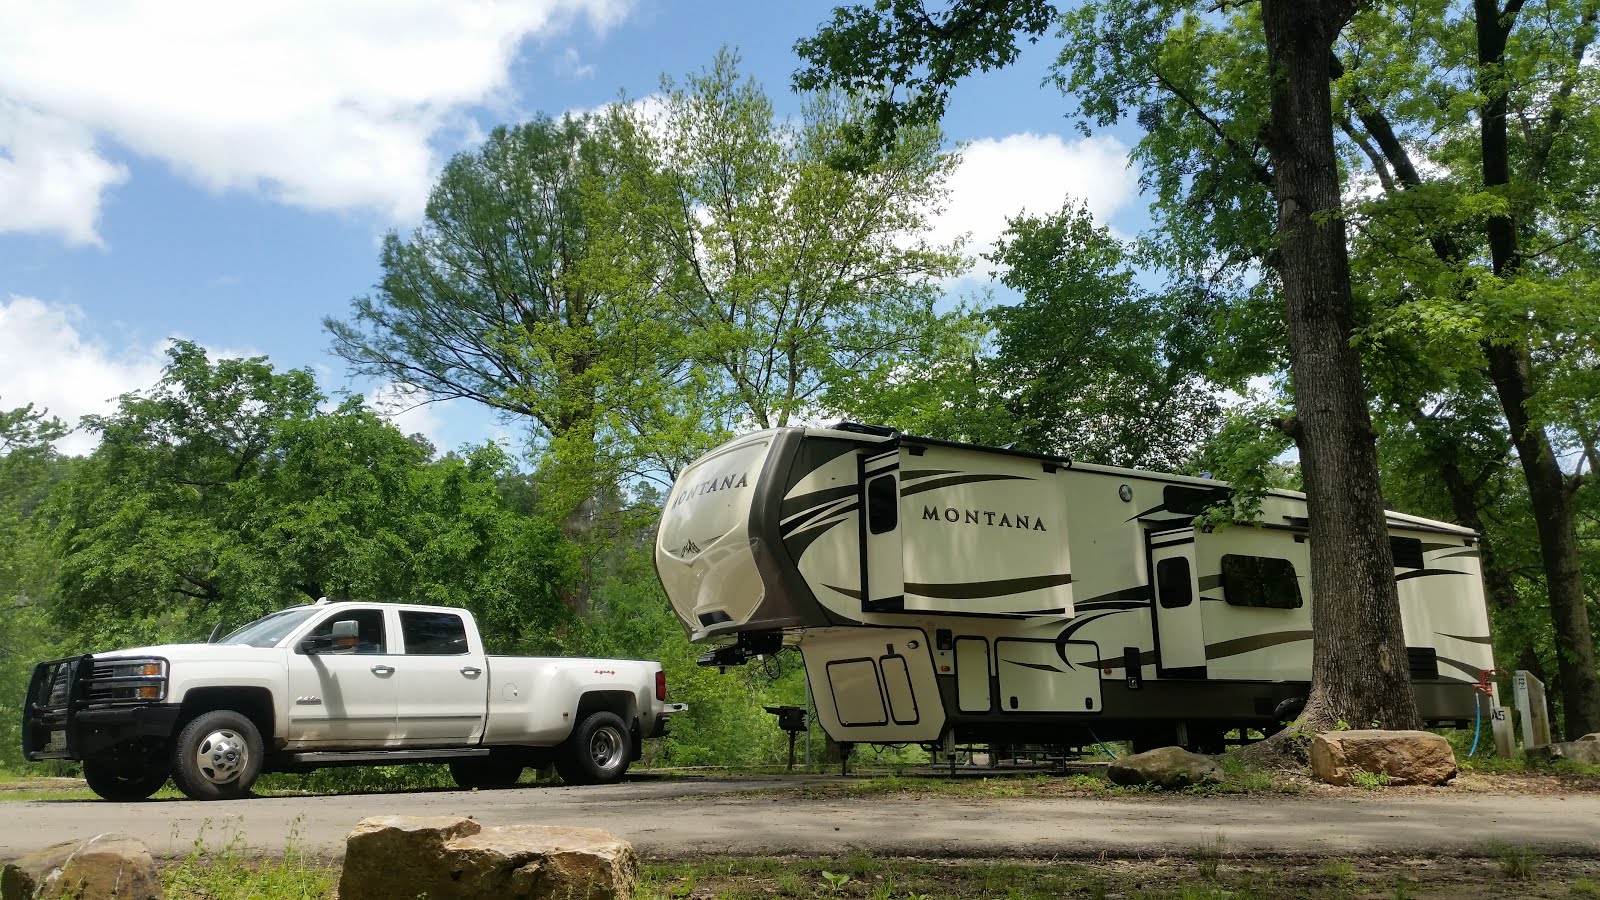
Welcome to the Trailerhood!

Friday, August 27, 2010

Rain Rain Rain...

Go figure...a week where we are 100 yards from Perdido Bay and the biggest obsticles to overcome are the lack of sunshine and the puddles on the way to the beach. It's fantastic!


Well, hopefully it will be short lived, and by that I mean today only. The great thing about all this rain is that it knocks out the satellite. So, not only do we get to stay inside all day building up energy, we get to do it without satellite half the day. Oh, that's not entirely true. Apparently, Nick East is on a transponder that is rainproof. That means we had the joy of watching iCarly and other crappy tween flicks all day. Hooray for rain.

On a good note, today was the day I got to spend a good bit of it working. Yes, I was on leave today, but I figured it would happen anyways. Let's just hope that work doesn't appear on a sunny day :)

Anyways, hopefully the next post will be something fantastic. Afterall, only 60% chance of rain tomorrow!

Second Satellite in Bedroom :)

For all those out there who are trying to hook up a satellite in the bedroom, I have some info to look at. The COAX diagram is posted on the forum, and was somewhat accurate. Well, maybe around 50% accurate.

I have had the satellite in the living area for a while now, you can read about hooking it up here. We finally set up satellite in the bedroom. We have a 2011 Cyclone 3950. There was backing for a tv mount in the entertainment area (verified prior to install by removing the 110V outlet to verify. We mounted it, and hooked up the satellite to the 'satellite' connection via coax. I then took the satellite signal finder to find the correct hookup outside. Amazingly enough, the satellite finder seems to be more useful for troubleshooting the Cyclone's Coax system than it is for finding satellite signals.

So, when the signal finder was hooked up to either the second satellite connection outside or the cable, there was no connection to the receiver. (The signal finder is powered by the receiver the same as the dish is powered by the receiver, so you can tell if you are connected to the receiver by hooking up the signal finder.) So, the next step was to pull the cable connection out of the entertainment area in the bedroom.

Amazingly enough, there was nothing connected to the 'satellite' connection. Great, another thing that isn't hooked up from the Cyclone factory. So, I looked back at the coax diagram from this forum. I have no idea how it makes sense to have the second 'satellite' connection in the docking station go to 'roof prep', but I figured there must be more to this than the diagram indicates. So, I started tracing coax lines. Here is what I found:

From back to front in the docking station:

The first satellite connection goes to the top coax connection in the living area entertainment station. Useful!

The second satellite connection goes to the other side of pass-through storage where you can hook up a tv to use outside. Sounds great if you spend a lot of time at NASCAR races and want to hook up the satellite. However, if you do spend a lot of time at NASCAR races and wanted to hook up a tv outside to a satellite receiver, you can run a line directly from the satellite to the receiver making it ABSOLUTELY USELESS to have a satellite connection from one side of pass-through storage to the other. Here's a better use...HOOK UP THE SECOND SATELLITE CONNECTION TO THE BEDROOM!!!

The cable connection goes to the bedroom where you will find 3 coax cables hooked up to the antenna amplifier. For me, it was in the TV1 position. Only useful if you are at a park with cable. Also useful because this is how I solved my problem.

To get the receiver hooked up in the bedroom, I removed the line from TV1 on the amplifier (cable in docking station) and simply hooked it up to the satellite connection on on below the antenna connection. Works great! Simply hook up the second line to the satellite dish and now I can watch True Blood while the kids watch Nick JR!

Hope this helps.

Friday, August 20, 2010

Timbren SES and Ford Trailer Sway Control

We just took our cargo trailer 800 miles. The 2011 SD Sway Control and the Timbrens were tested on this run.

Total weight for the trailer was 12.5 klbs and an extra 1klbs of stuff in the bed of the truck. I had a new 2.5 in hitch, but it was too tight of a fit. I was within the capacity of the 2" hitch so I used it. It was late and I had already installed the sway control balls on the 2.5 in hitch, so I left it off that night for the short drive back to the park. The next morning, I decided that I would install the sway control if it was needed. It was a long drive so I went a little faster than I prefer when towing. I went around 70-75 mph and the fuel economy reflected it. I was getting around 9mpg at 75mph, 9.7mpg at 70mph and 10.5mpg at 65mph.

Mileage wasn't the point to this update...First thing was the Timbren SES. It was great! I was impressed with how much smoother the bumps were with the springs installed. I thought there would be a slight improvement, but not this much. I can see how they can extend the life of the springs, hitch and trailer. I would definitely recommend them to anyone with a truck.

Second item was the Trailer Sway Control feature on the 2011 SD . I had hauled the cargo trailer empty (4,500 lbs) and noticed it didn't seem to sway as much as before. I figured it was due to having a dually (heavier truck = trailer has less influence on truck). However, I was surprised when towing the trailer with a load. I towed the trailer 1,000 miles with the 2005 F250 6.0l CC SB FX4, 4,000 miles with the 2008 F250 6.4l CC SB 4X4, and now 1,600 miles with the 2011 F450. The difference between the 05/08 and the 11 is night and day in regards to trailer sway. The trailer fully loaded was unwieldy with the prior models and sway control was a must. I got a second sway control system to tame it. This time, loaded with 8,000 lbs, no sway control was needed. I thought, "Man, I did an awesome job loading this trailer". Then I remembered the Sway Control could be turned off. Since I was on open highway with no traffic, I turned it off. Immediately there was a difference. Every turn, every passing truck caused significant sway. If the trailer had been swaying that much, I definitely would have pulled over and hooked up the sway bars. Turned it back on in the middle of sway from passing a truck and it immediately cut it out. It was amazing. Ford knocked one out of the park with what I consider to be the best feature since the Integrated Brake Controller with the new Sway Control! And, they added the factory 5th wheel prep on the same model!

Friday, August 13, 2010

New Truck Accessories!!!

I installed new equipment on the truck yesterday...ok, new toys perhaps. I put on rain deflectors and new Timbren springs.

The rain deflectors were more along the lines of toys. I had them on a previous truck and it was nice to be able to crack the window and not worry about rain entering. It also cuts down on the low frequency noise that occurs when you open a window at faster speeds. Photos of the vents are on facebook.

The second install was a Timbren Suspension Enhancement System. It is a set of rubber helper springs that will smooth out the ride when under load. I purchased from eTrailer even though there were a few places that were cheaper. We have had great service from eTrailer in the past and wanted to use them again. As advertised, etrailer honored their lowest price pledge.

The installation was simple. It seems like it took longer to get the cover off of the sticky tape on the rain deflectors than it took to install the springs. It took no more than an hour to install the springs. The instructions say to lift the truck so the axle hangs freely but that wasn't necessary. There should be about 1/2 inch clearance when installed and that was enough to get the springs in for mounting. One side was a little tighter and required a little wiggling, but I managed without lifting. I probably could have taken the hitch out of the bed along with the box of tools and gotten a tad more clearance. Probably also would have helped if I had parked on a level surface. The hardest part of the install was turning the wrench to get the nut off to remove the OEM bumper and then turning the wrench to get the nut on the Timbren springs. There is not much clearance which. The passenger side had enough clearance to get a ratchet on, but it was not very effective. I found myself wishing I had a set of magical ratchet-wrenches that Craftsman makes. Maybe some day I'll get some, but I managed with plain wrenches. It was also dark when I installed them which goes to show the ease in getting to the parts.

I chose the Timbren system for the low maintenance required. They simply replace the OEM bumper and that's it. At a minimmum, air systems require inflation tubing and adding air more frequently than never (the amount of times you have to add anything to the Timbren springs = never). For lower maintenance on the air systems you would have to add compressors and remote monitoring/adjusting systems. Overall, I'll take the easy option. It's also cheaper.

I have one photo of the springs here and there are a few more on facebook. I'm looking forward to getting back on the road in a few weeks and seeing how the new springs work out. I'll try to remember to update on how the ride changes under load.

-Steve

Monday, August 9, 2010

Packing never ends!

Uggghhh! That's how I feel and Katie is the one doing most of the work ;)

Packing is never easy. You move all the furniture out and it seems to go by very quickly. Then, you have all the crap that was in or on the furniture laying around. You must decide what to combine in the boxes and what to get rid of. We find ourselves getting rid of a lot of junk. It's amazing how much crap you accumulate over time. Even with moving frequently, we have still accumulated massive quantities of crap (no, not the same kind of crap from "the crappy day").

The good thing about this packing evolution is that we have plenty of time to go through EVERYTHING. And that's a lot of stuff to go through. We have taken a ton of stuff to give away or throw away...literally...a ton. Well, that's just an estimate based on the 250 lbs of clothing we just ditched this weekend. Where did that all come from? I don't even know. It was just old stuff that has accumulated over time. Anywhere from things that didn't fit to things that were too worn out even to be worn in the privacy of your own home.

What is even more amazing is that we haven't gotten rid of anything we wanted or use. I'm very curious for the next official move to see how much weight we have. I have built a few more pieces of furniture and we accumulated a few more heavy items. Right now, it seems that we've cut about 1/3 of our weight and that we'll actually be able to store everything in the cargo trailer. There are still a few things that I will keep close by. Things that we will use a little more regularly, so it's hard to tell exactly how much stuff we have until we get official weights next move.

It will definitely be a load off to get things packed. Hopefully, we'll get it done this week. Then we can take it home next weekend. And, we can get the front-end replacement and headache rack for the truck! The headache rack was given the go ahead after scratching and denting the top of the truck with some kayak's. But, look at the fish, it was worth it! (I also almost busted out the rear window with a wagon, but Katie doesn't know...shhhhhh!)

-Steve

Wednesday, August 4, 2010

Water Heater Woes...

As brand new RVers, we've been pretty irritated with several things. Most of all is the lack of quality of the owners manual. To say it is subpar would be generous. However, the biggest irritation was with the water heater.

I knew not to turn on the electric to the water heater without verifying water flow. I actually knew this before RVing. So, we picked up our new home and once we got to our main-stay campground, I verified water in the system and turned on the water heater.

I was pretty disappointed when there was no hot water after about 30 minutes, but I just chalked it up to a lack of familiarity of a 12 gal water heater (not sure why they don't install 16 gal, there's plenty of room). So, after a couple hours I thought it was working, but it turns out that was just due to the hot weather. So, for the night we used propane to have warm showers, actually, hot showers. The heater works very well.

The next day it dawned on me that there was another switch in the water heater panel. I turned it on and assumed I was just an idiot. I turned the gas off and the next morning there was plenty of hot water. For lunch, still hot water. When I got home from work my wife informed me that there was in fact, no hot water. I must say, the insulation on the heater works quite well to keep it hot for over half a day.

So, for the remainder of the week, we used propane. I assumed that some jackass had turned it on at the dealership and burned out the element. It's an easy fix and costs about $7 at Lowe's. But, given my engineering background, I wanted to find the problem first.

I got a operation manual from Surbaban with ease. They emailed it right to me and took less than a day. After verifying the interior switch truly had power to all connections, off to the outside panel I went. I first checked the suspected element. 10 ohms, right where it should be. Now, I was less optimistic. So, I turned everything back on and no power to the element. Ok...next suspect is the reset switch. No power!? Well, there's only one thing between the reset and the interior switch, another switch. I popped it off and checked...no power!?!?

At this point I was pretty pissed. I had forgotten about something else between the reset and the interior switch...wire. My first thought was that it was wired and someone put a screw through the wiring. Then I thought about it more. I figured some idiot just didn't hook it up. Well crap, how am I going to get to this problem. Of course there's not much information in the owners manual on how to access the water heater (or the pumps, or really how to operate anything, no schematics, nothing!) And, since we're full timing, taking it to a shop would be a major pain in the ass and leave us homeless.

I happened to notice a panel in the pass through storage. So, the next day was Saturday and I would give it a look in the morning since the heat here in Tennessee has been unbearable by 10:00am...actually it's unbearable all night. It's almost 10:00pm and it's still 94 with the heat index well above 100.

Next morning, I opened up the access panel and the first thing I saw...EXPOSED WIRES!!! It was marked with tape about 10 inches from the end. I immediately knew I found the problem. I hooked up the volt meter to the exposed end and had Katie turn on the circuit to verify. Sure enough, 120 VAC, that was the problem. I then saw the wires from the water heater, stripped and ready for hook up. If only someone had actually done that.


Fortunately, I spent a few years as an electrician and was able to properly correct the problem fairly quickly. I did have to drill a hole through a wall of the shore connection trunk to get access to the j-box screw. A handhole would be a great thing to put in order to access the heater j-box. There's plenty of room and I may put one in sometime in the future. The other option would have been to disconnect the gas, pull out the water heater, connect it, then reinstall. If I ever pull out the water heater, a 16 gal is going back in it's place. 16 gal only require an additional 1.5 inches and there's about 4 inches available.

Needless to say, I'm pretty disgusted with the QA at the Cyclone factory. Add to that window borders that were not secured to the wall and a couple trim pieces that were not attached. Neither are as dangerous as exposed wires floating around waiting to short out, but luckily, no one was hurt!

I say to the Cyclone factory, you better watch your work and should probably step up the QA. I hope I don't find more problems this serious.

Regardless, I still love this rig and would recommend a Cyclone to a friend. I would just tell them not to take ownership until the water heater was tested.

-Steve

Tuesday, August 3, 2010

An Arkansas Adventure

We just spent the weekend at JFK, an Army Corps of Engineers park near Heber Springs, AR. What a great time! We headed down Thursday afternoon and made it just in time to set up before dark. Thankfully, I did not take advice from a young woman that gave a great dissertation when we asked where Greers Ferry Dam was. After a long pause, there was much discussion of what sounded to be the slowest way to never make it to the dam. I felt like I was in a Bacardi and Cola commercial.

I was anxious to try out our 50-amp adapter and use both A/C’s. After backing in to the site, I was ready to give it a try. I pulled it out, plugged it in and with a click, the breakers were on. Well, one was on. Apparently the disclaimer “will not work with GFI receptacles” was quite accurate. I would like to see the wiring diagram for this contraption, but apparently you can’t use one leg of the adapter. There is a possibility that I have a bad adapter, but I’m going to wait to bad mouth the adapter too much until I get a chance to test it on a non-GFI circuit. Unfortunately, that has been the standard on circuits that have the potential to be exposed to the water for quite some time. With more and more campground renovations, it will be harder to find a place where it works.

So, with the temperature in the low 90’s at 8:00pm, I did the next best thing. I had started the generator prior to leaving to test it out and found that it didn’t power anything. I had already blocked the owner’s manual by retracting the slides and didn’t care to discover that the generator wasn’t hooked up like the water heater. So, with Katie’s reassurance, we hitched and hit the road.

I now found myself hoping that this was not another water heater incident. I fired up the generator and quickly found where the breakers were located. Now, if I could just figure out how to get the cover off. You won’t find this information in the Cummins Onan owner’s manual. I guess it’s more tribal knowledge that would be nice to get during a walkthrough, or even better…to be included in the manual. After searching with limited lighting, ok, no lighting; I finally got the courage to pull hard enough to break something or to get the cover off. It turned out that was just how you get it off. No fancy latches, just a good yank and it popped right off.

Hooray! The breakers are in the off position. I quickly switched them on and ran inside anticipating a blinking light on the microwave. Alas, the generator was connected. We ran both A/C’s for about 40 minutes and figured quiet hours were either at 9:00pm or 10:00pm and didn’t want to chance it.

Off to the greatest helper to campers…Wal Mart! I figured they would have a 30-50 amp adapter and I was more hopeful than Katie that it would work. We picked up a few other things and headed back. It was after 11:00pm when we returned. I hooked it up and crossed my fingers. It worked! $70 adapter – 0, $18 adapter – 1.

So, how much equipment on a 240Volt, 50 amp service (2x50 amp at 120 Volts) can you run with 120 V 30 amp supply? That is a question that we never answered. I know you can run the following: 1 – A/C, 1 – R/V reefer, 1 – 9 cu ft fridge, 1 – 12 cup coffee maker, a converter and a bunch of 12 Volt DC lighting and stereo and water pump, 1 – 32” LCD TV, and 1 – Blu Ray player. I don’t know how close we were to the limit, but I imagine we couldn’t add much more. We made sure we turned off the A/C when running the vacuum, just in case.

Other than that we had a great time. We spent some time swimming in the lake. We got plenty of laughs and waves when we went for a stroll in our tandem bike with the kids behind in the trailer. If I were to do it over again, we’d stay at the Dam Site to be closer to the lake. We decided that between May and October, the Dam Site would be best so we could take the kids and the dogs (and ourselves) to the lake regularly to swim and not need to drive. It also has 50 amp hookups. During the months where the water is too cold to swim, we’d stay at JFK to be close to the fishing. I also learned to not leave my scuba gear at home. We camped right next to a group that was seeking treasure at a nearby favorite cliff jumping area.

Of course, I can’t speak for Katie, the kids or dogs for the day I spent on the river catching a monster Rainbow Trout, but I think they had fun that day too. I know we can’t wait to go again.

All in all, it was great trip and I’m looking forward to going back. I highly recommend both the Dam Site and JFK parks.

- Steve